9/26/12

DIY: Ticket Artwork


I have been collecting ticket stubs since as long as I can remember. Whether it be a cheesy teen movie or the concert of a lifetime, I save them and cherish the memories that flood back when I look at them. For the majority of high school these ticket stubs have been tacked onto a bulletin board growing in size, number and inconvienence. However, I stumbled upon the cutest idea to store them in a fun, artistic way! Here is the original pin where I found the inspiration.


What you need:
  • Shadow box (I purchased mine at IKEA)
  • Scrapbook paper
  • Letter stickers (optional if you choose to write "Admit One" yourself)
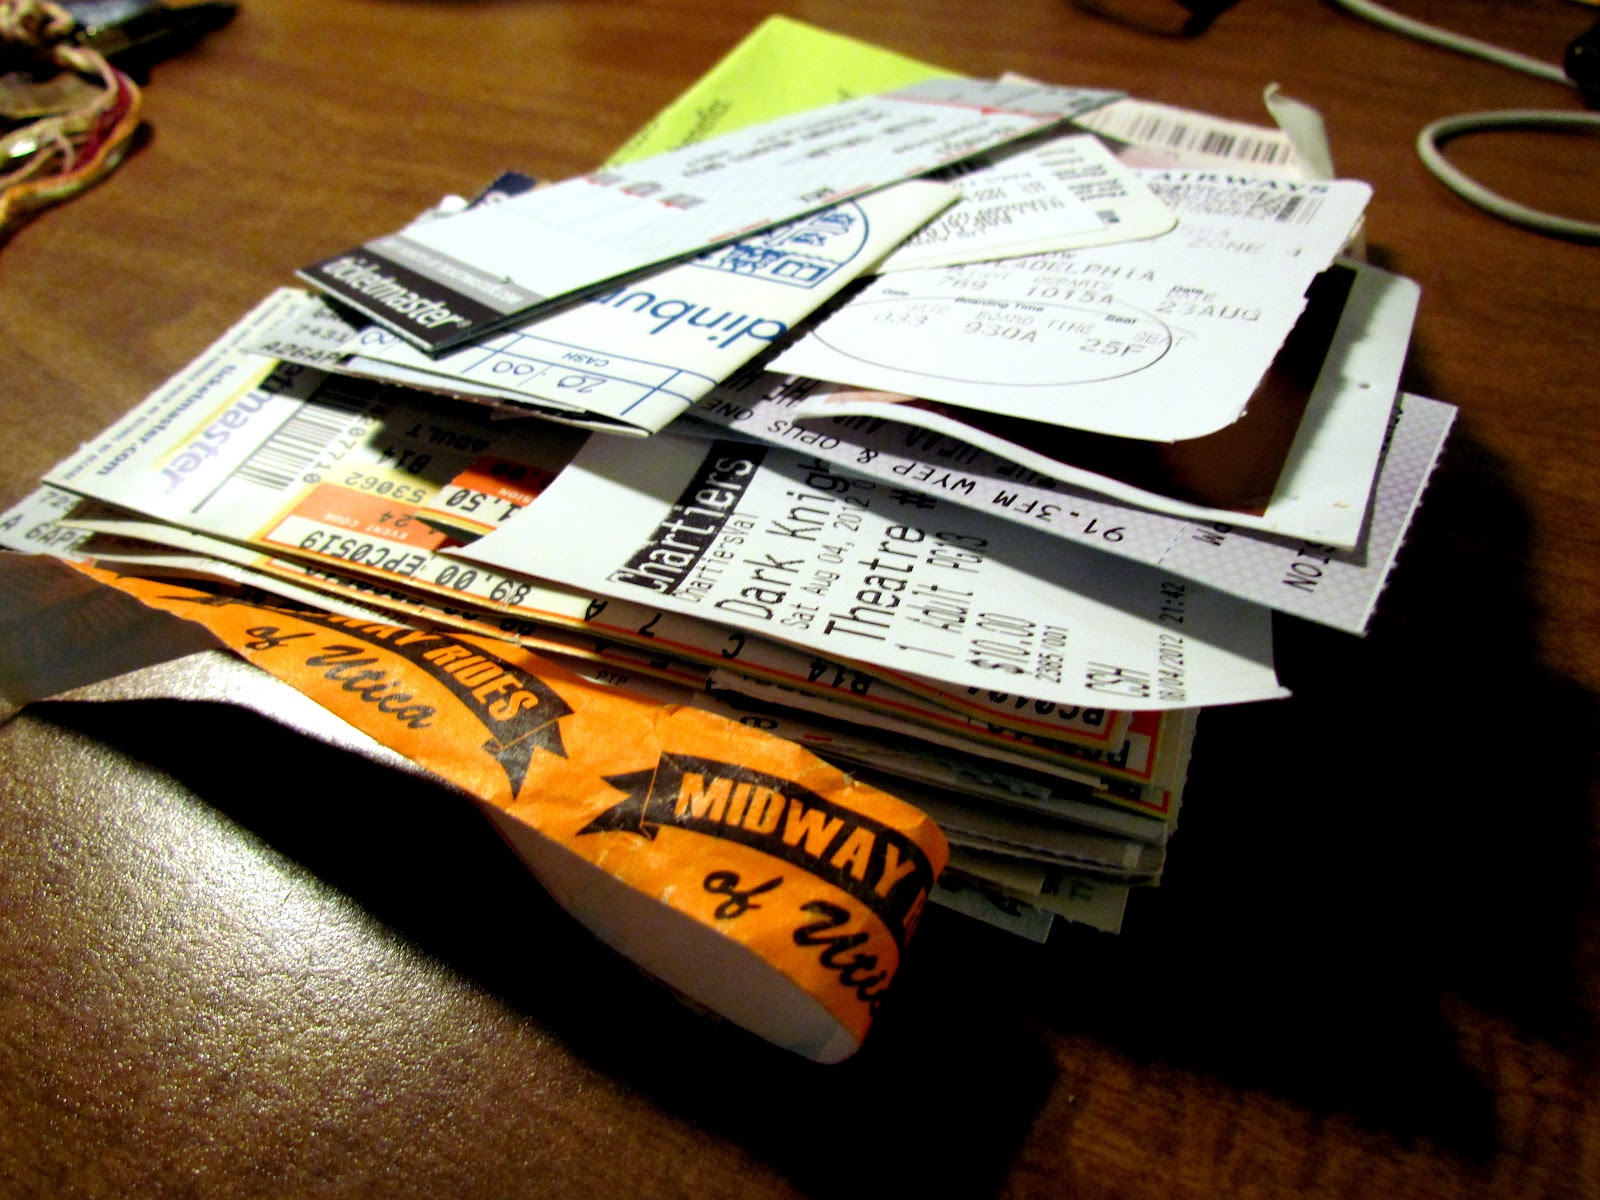
  • Ticket stubs or memorable scraps of paper


With this project you honestly do not have to have any creative ability. You simply cut out a piece of scrap booking paper to fit the back of the box, write "Admit One" or whatever saying fits your fancy, put the ticket stubs in the front of the box and close it up. You know have a beautiful new memory holder to display on your wall or shelf.


I decided to place mine on my shelf in my dorm so my light will shine on it and if people see it, it starts a conversation. What creative ways do you display memorable ticket stubs or papers you acquire?

9/19/12

DIY: Chevron Art


Lately I have become very inspired by stripes. I am taking an elements of design course and all of my projects have related to some form of lines or stripes. This has definitely been an awesome way for me to look at art and my DIY projects! Some of my favorite striped projects I have seen on the Pinterest sphere are chevron stripes. Streamlined and classy, yet they are still so fun and you can be so creative with them! These two (pin 1 and pin 2) are my inspiration for the project.


What you need:
  • Canvas
  • Painters tape
  • Scissors
  • Ruler
  • Assorted paint - this is completely up to you. I chose spray paint but you can use whatever paint your heart desires


You first need to tape off the canvas with your desired chevron stripe length. I used a ruler for the first two rows in order to get an accurate estimate of spacing and and just make sure I had enough points on the canvas to make the chevron pattern look even. However, with that being said I was pretty relaxed with it because I was by no means aiming for perfection. 

Also side note, the taping does take a while and is hard to get used to. I at many times had to redo pieces, cut small strips to fill awkward gaps and stand up to get a better view of the painting. Pretty tedious work, but worth it. 

Once you have your entire canvas taped, you are free to begin to paint. I chose using two different spray paints to add to a more "messy chevron" look I was achieving. I painted every other stripe with the orange, then the blue, waited about 3 minutes and added a second coat. Wait approximately 2 hours until your painting is dry and take off and you have a beautiful new piece of art for your room.


The great thing about this artwork is you have a lot of room for creativity. I contemplated painting a bible verse on, cutting out a silhouette (like the giraffe pin) or painting a monogram on, but I actually really like the simplicity of the piece. What ideas would you use to spice up the chevron? Also if you have ever tried it or want to, let me know!

9/12/12

DIY Button Art


When you think of childhood what do you think of? Cotton Candy, Streamers, bike riding or swing sets? Well, I automatically think of buttons. While a random choice, my mind always immediately thinks of the pencil shaped buttons I had on my Kindergarten jacket or the apple buttons on my teacher's cardigan. So when I stumbled upon this pin about button monogram art, I just had to try it.


This is definitely an easy way to make some art for your dorm, bedroom etc. All you need is:
  • Canvas
  • Hot glue gun
  • Assorted buttons (I found mine at Hobby Lobby)
  • Letter stencil (I own a cardboard A that I am saving for another project, so I used that as my stencil


All you have to do trace and start glueing. Simple right! When I glued, I really made sure to get a couple layers of buttons in order for there to be more depth and so you the canvas under the A tracing would not be visible.


Glue your favorite colors, shapes and forms! I really tried to make sure I used some plainer looking buttons for the bottom layer and then strategically placed some larger and more embellished buttons on top. 


Send pictures of your own button art creation! Are you using the monogram format like I am or are you feeling extra creative and made your own art piece?

9/4/12

DIY Calender

So with the first week of the semester now under my belt and my initiative to get organized higher than ever, I have been inspired to organize all aspects of my life. Some use outlook, some have planners, but I love the idea of a calender just in my room in plain sight so I never forget those important dates I need to remember. With that being said, I found this dry erase calender idea and gave it a go with a couple of my own personal twists.


What you need:

  • Frame (I bought one from Salvation Army and spray painted it with a glossy white paint)
  • Paint samples
  • piece of paper/card stock to fit the frame
  • hole-punch if desired

So instead of drawing the calender onto the surface, I took some inspiration from this calender DIY and used paint samples as the "days". After snipping off the paint name labels, it is basically trial and error with how you space them. I ended up overlapping them slightly just to make sure I have all straight lines. A lot of my paint samples were a little longer, so I went for long and narrow so I could have my calender vertical.


After laying out the samples and gluing them to the card stock, I punched out 9 circles with a circle punch to create the space where the month would go. Fun fact: September is the longest month name with 9 letters. With this step, feel free to use your creativity! Cut squares, make a single strip, etc. I just so happened to own a circle punch (about $8-$10 dollars at a craft store) and put it to good use.


Once you are done, just clean the glass well with Windex and put your finished product in! I ended up putting the calender on my closet door so I will always look at it in the morning. Let me know what you think about the calender! Also what are your great dry erase ideas that you would want me to try?